
I am often asked if I follow some formula or rules for composing my landscape images. My answer is usually a confusing “yes and no”. Let me explain…
Landscape photography is an artistic process and and is very much open to personal interpretation, what I like in a photograph someone else may hate. Likewise my approach works well for me, but may not suit you. However, there are some basics that are common to all approaches and active consideration of these will undoubtedly improve your photography. Notice that I said consideration not application, I often look at a scene and decide to take a particular approach to the exclusion of another as part of the artistic process, but knowing what the alternatives are and how to apply them gives me options. I follow a mental checklist when I’m photographing landscapes and have reproduced that checklist below to help you understand my thought process.
1. Does the image have a strong focal point? A focal point is something that viewers can latch onto quickly and gives them a place to rest their eye as they enjoy the photograph. Without a focal point viewers may not understand your photograph or may even feel uneasy looking at it, of course that may be the reaction you are hoping for.
2. Is the image composed around that focal point, considering;
Rule of 3rds - every article you will read about composition will mention the rule of 3rds, that is because it works and is a simple way of making your images more aesthetically interesting for your viewers.
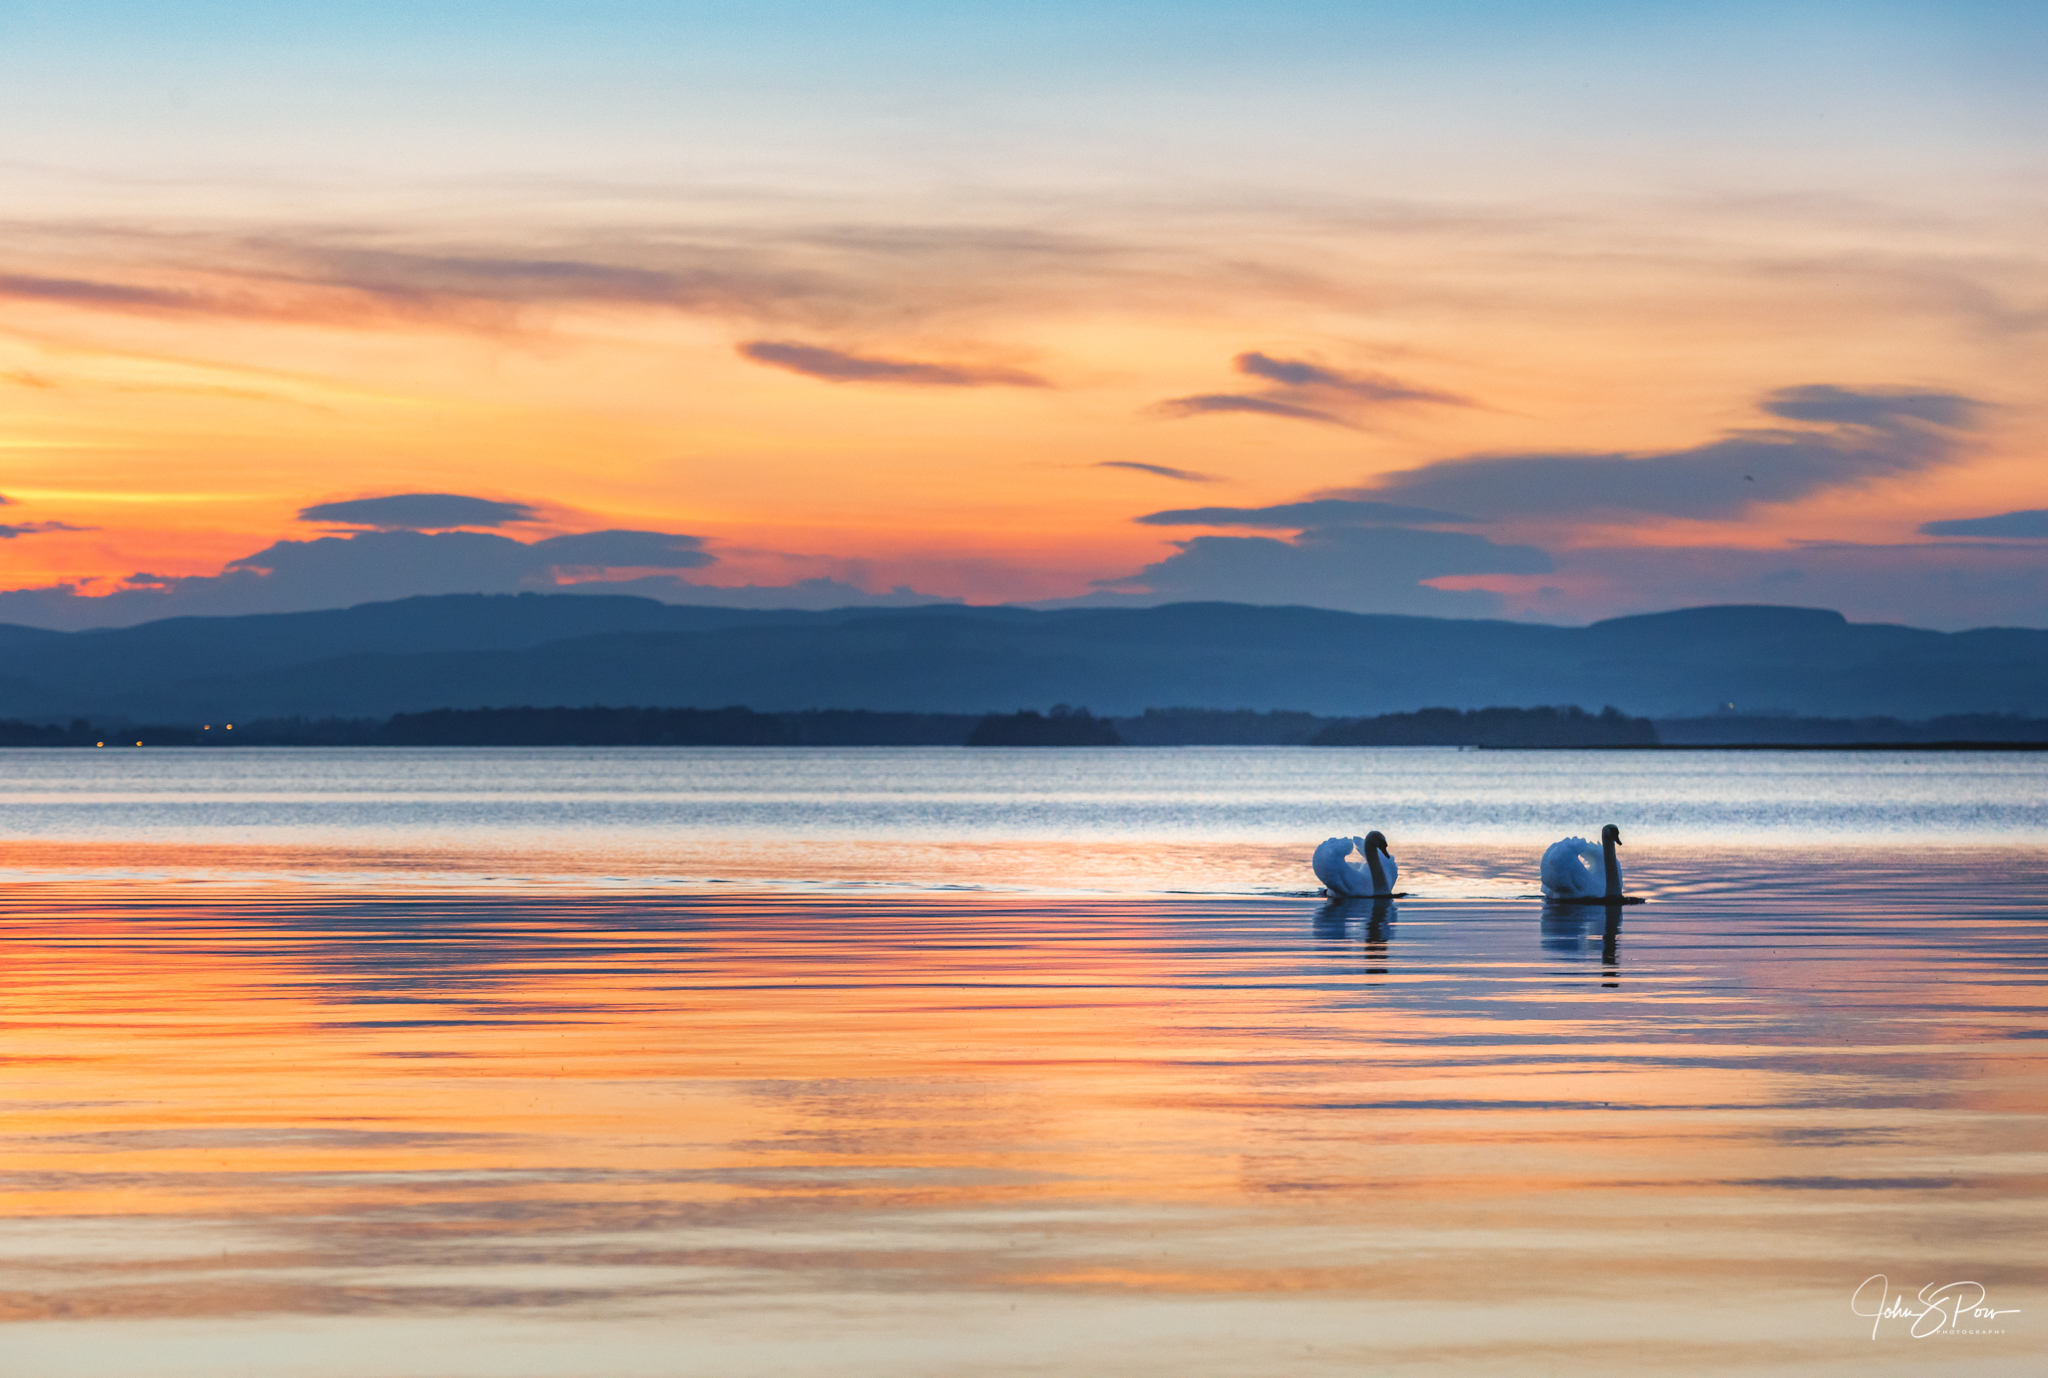
Different perspectives/heights/vantage points - if you take the same photograph from the same position as everyone else then you are never going to stand out from the crowd. Of course you need to decide if you want to stand out from the crowd!
Leading lines/curves - leading lines are good, leading curves are better, “S” curves are best!
Foreground interest - undoubtedly the most common mistake people make is not including foreground interest. Remember, your viewers eye will drop out the bottom of the image without something interesting to catch it and a strong foreground gives a sense of scale and proportion too.
The horizon - make a conscious decision on where to put it. Remember a horizon in the middle of an image often splits it in half and viewers prefer thirds. Horizons must be straight - it is a fact not a debate.
3. Do you have the depth of field you want? If not, can you change the aperture to give you what you want? My philosophy on this, which works well for me is start at f8 and if you want more depth use a bigger number and if you want less depth use a smaller number. Keep it simple.
4. Are there any considerations regarding shutter speed? Do you need a tripod or higher ISO? When shooting handheld, know your capabilities and those of your lenses and cameras, very few people can hold a camera steady enough at any focal length for a shutter speed of less than 1/60th of a second. Bigger focal lengths need even faster shutter speeds when hand held.
5. Is the scene 18% grey? Probably not! Modern cameras are clever and should have a good understanding of the scene they are trying to expose for, but they still base exposure calculations on the assumption that the scene is uniformly 18% grey. If the scene is unusually bright or dark or has wide variations you need to compensate for these in your exposure. Your histogram is your friend, use it to check your exposure, a look at an image on the back of your camera is not enough.
6. Before you take a shot look round the image in your viewfinder and ask yourself:
Are there any distractions, bins, branches etc? Can they be removed or can you recompose?
Is the scene too busy? Less is more!
Is there a sharp focus on the focal point?
Where does your eye go when you look at the image? Is that where you want your viewers eye to go?
7. Once you have taken a shot that you are satisfied with, don’t just pack up and walk away, this may be your only opportunity to photograph this location, so ask yourself what will happen if I change my position, perspective, focal length or camera orientation? Why not spend another few minutes there and just try each before you move on.
This checklist works for me, give it a try you may not like it, thats fine but at least you will have tried.